
Creating a Tradescantia Terrarium
A Step-by-Step Guide

I wanted to create two terrariums and what could be better than to decorate with Tradescantias?
Tradescantias are great for terrariums since they like the humid environment a terrarium provides. The only downside is their fast growth, which can quickly fill a terrarium. To minimize this, I chose EC-TRADE-2011 (Sweetness) for its smaller leaves and compact growth, hoping it takes a while before it needs trimming.
I wanted to make closed terrariums, though open terrariums are also an option, but they require different care. A closed terrarium rarely needs watering, making it very low maintenance. This article will focus on closed terrariums
.
What You Need:
Glass container: I repurposed old bottles that once contained tomato juice. It’s great to give a new life to something that would otherwise be thrown away!
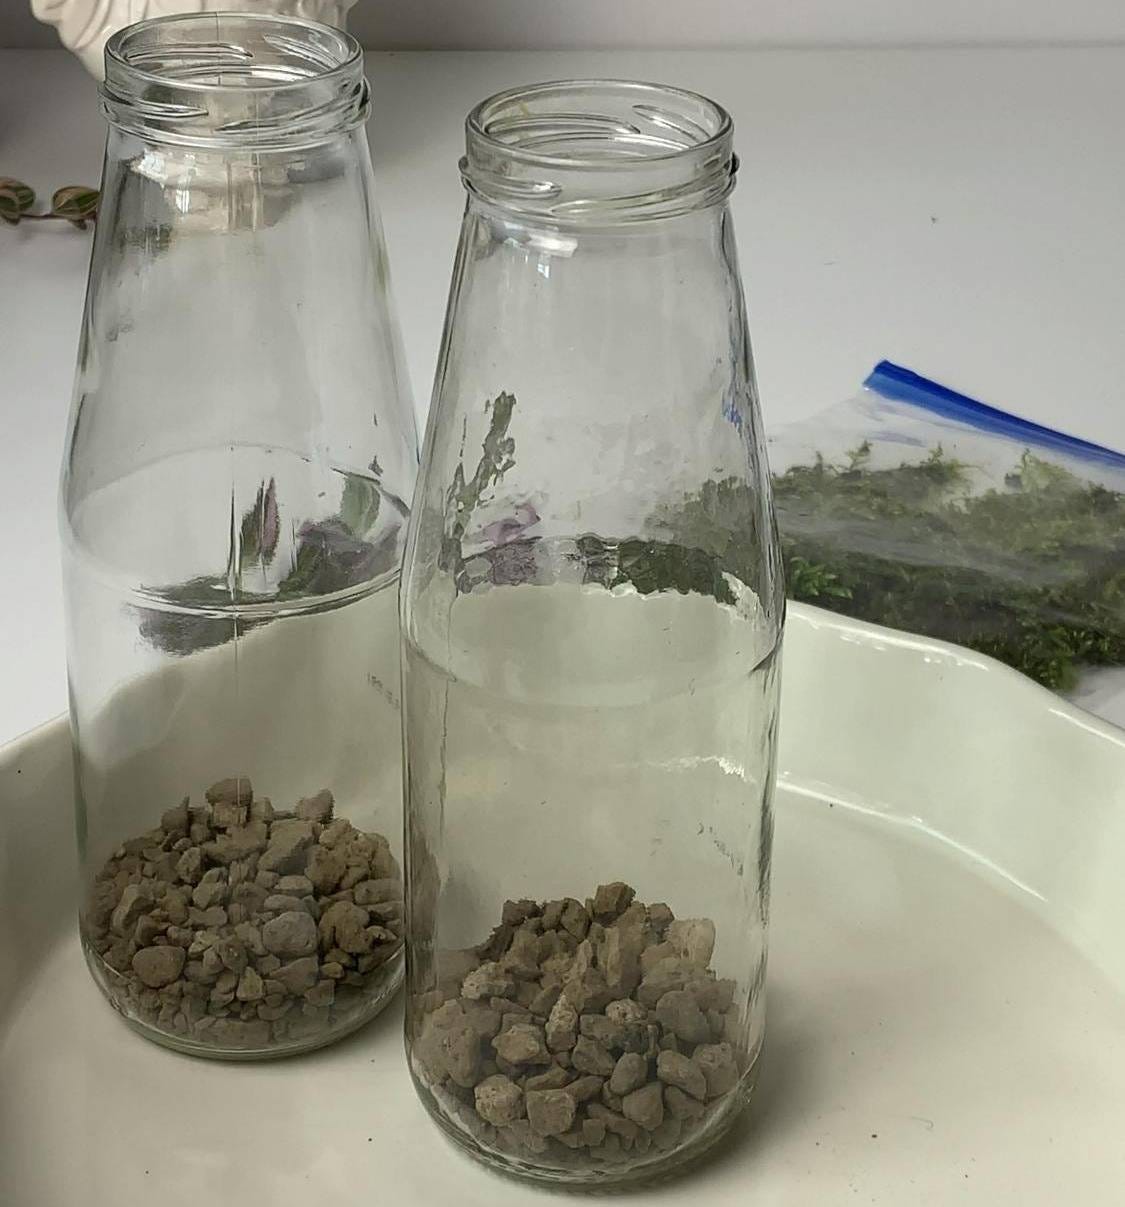
Drainage layer: : Leca, pumice, or any small stones. I went with pumice; I like the look and it’s proportionate to the size of the bottles.
Activated charcoal: This helps prevent mold and removes toxins.
Separation layer (optional): A mesh or netting material can prevent your layers from mixing and stop roots from growing into the drainage layer.
Soil: Any well-draining potting mix works, but I chose a pre-mixed soil specifically for terrariums.
Plants: While there are many suitable plants, I picked a smaller-leaved Tradescantia and some moss from my garden. Although moss from the garden might bring pests or fungi, I rarely have any problems using it for my terrariums since they’re closed. If you’re using it for open terrariums you can either freeze it for 24 hours or wash it carefully and quarantine it in an airtight plastic box for a few weeks.
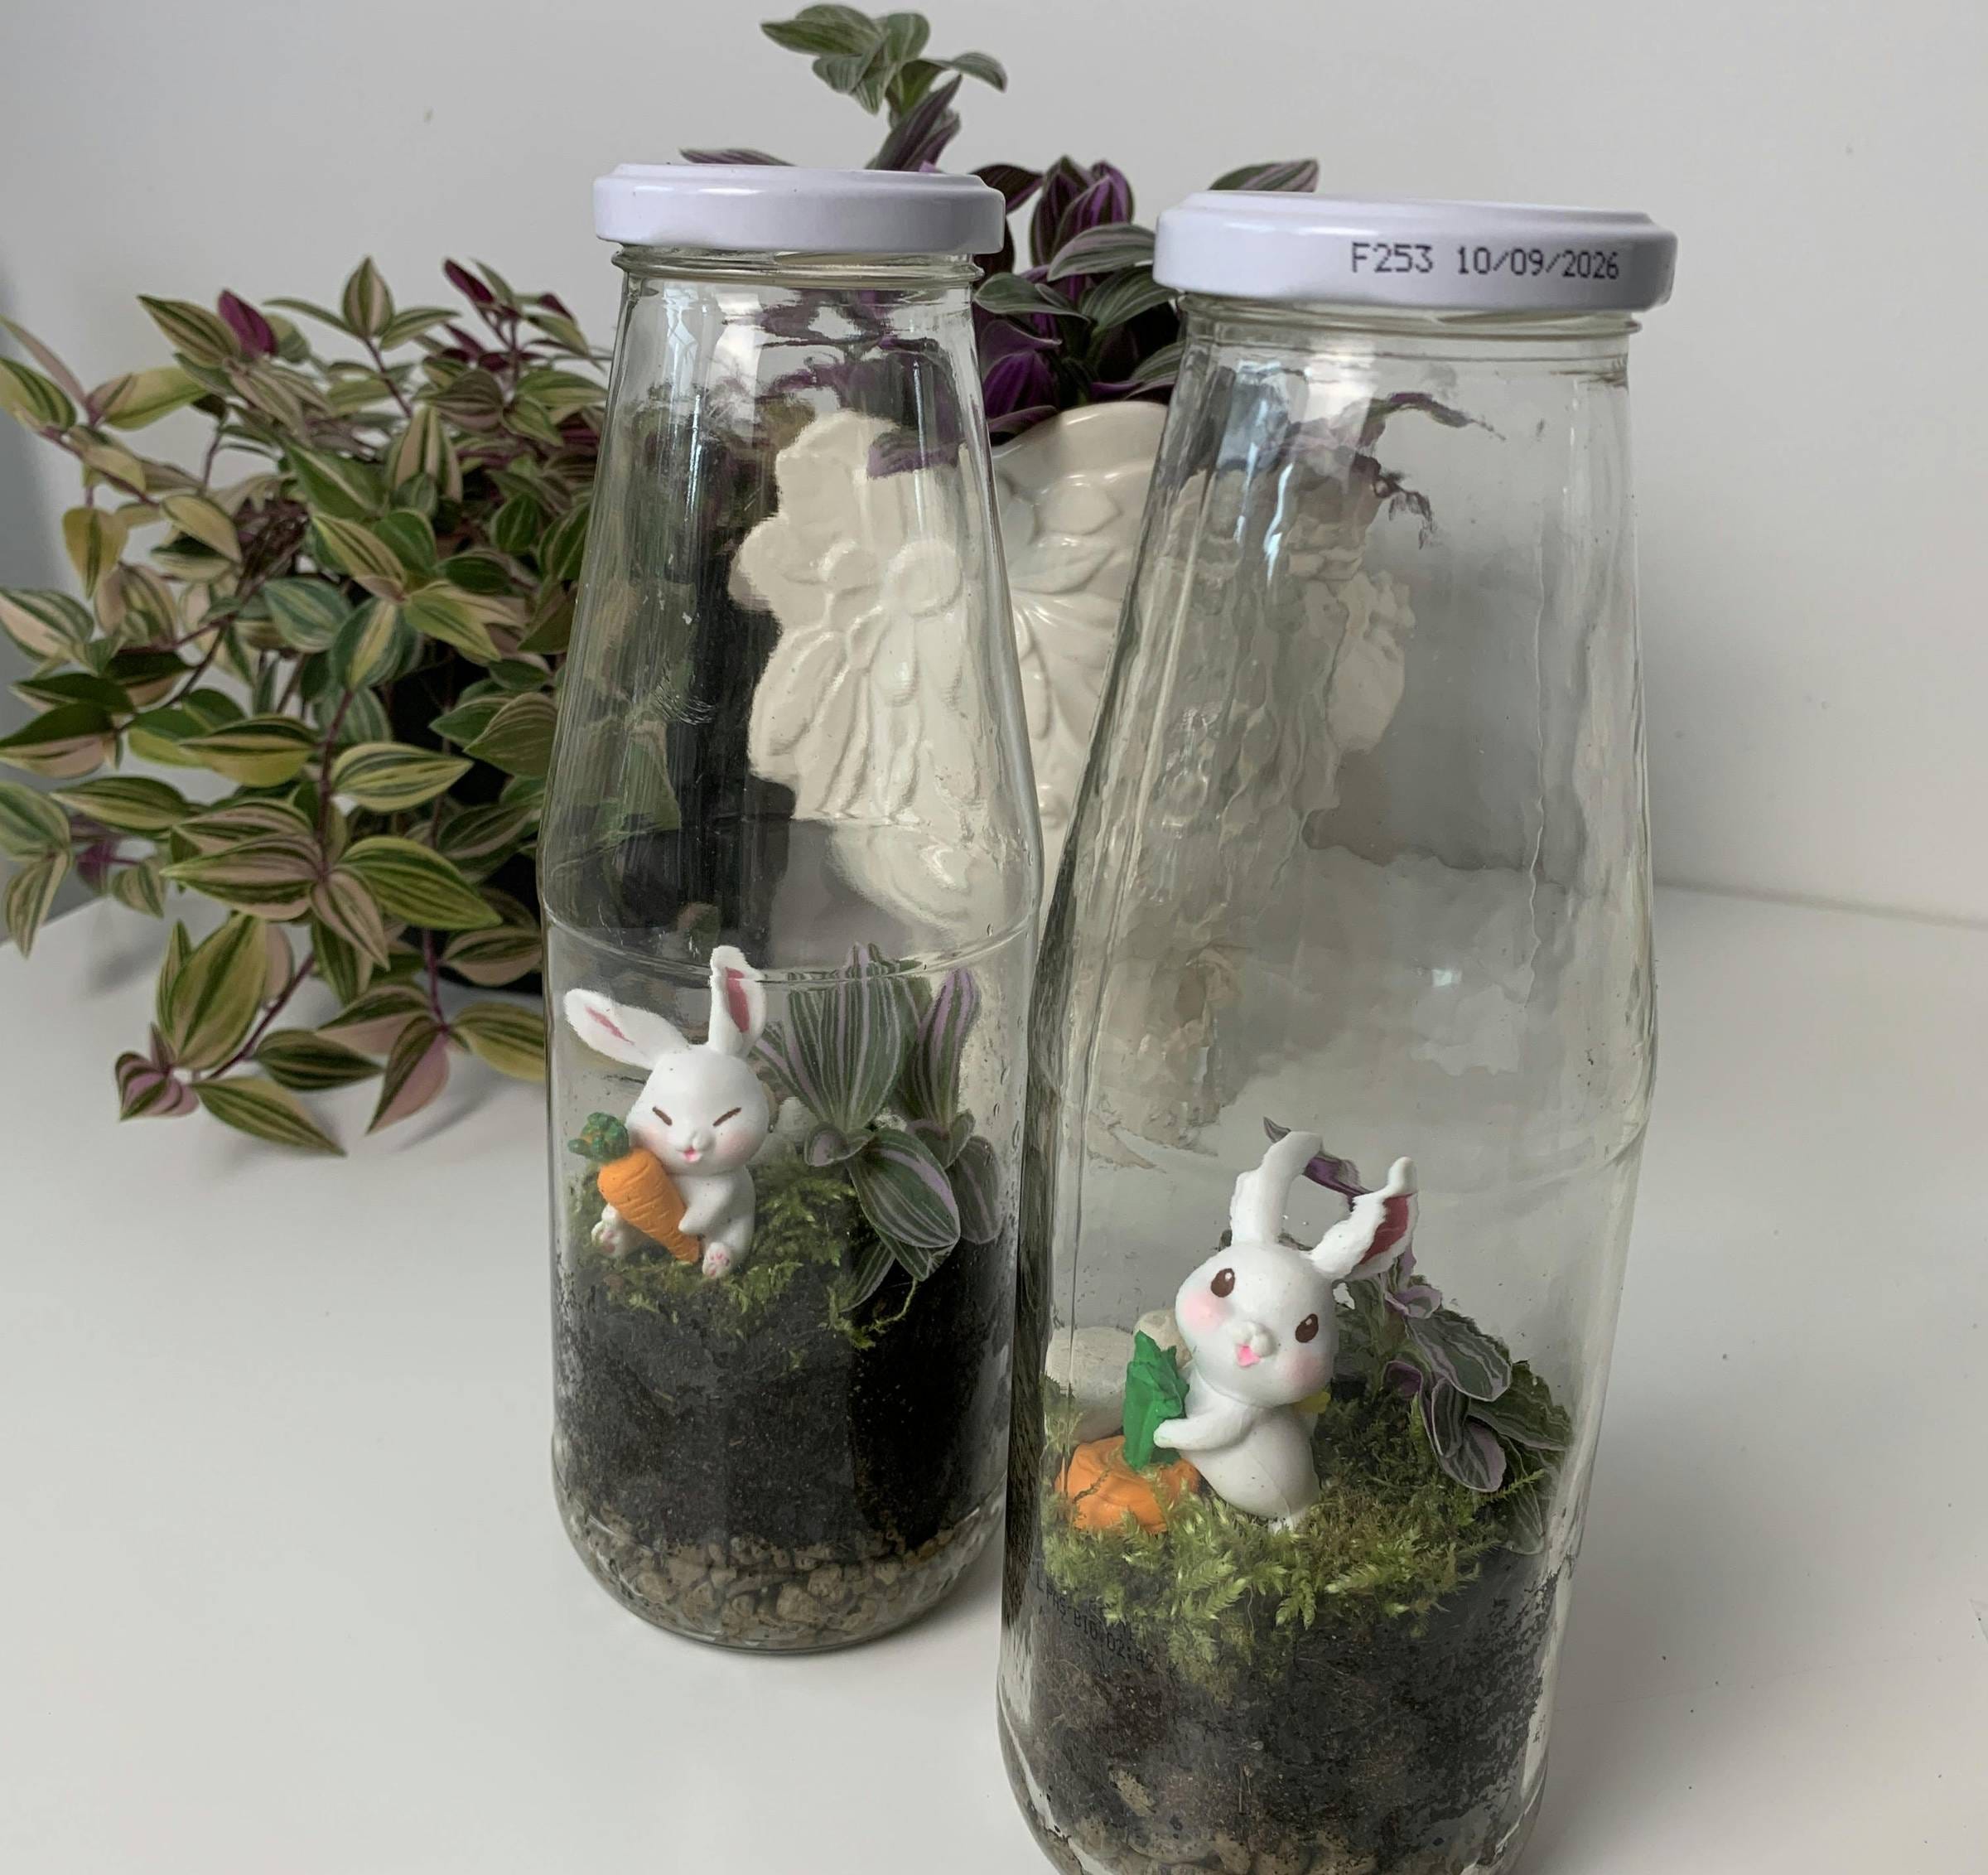
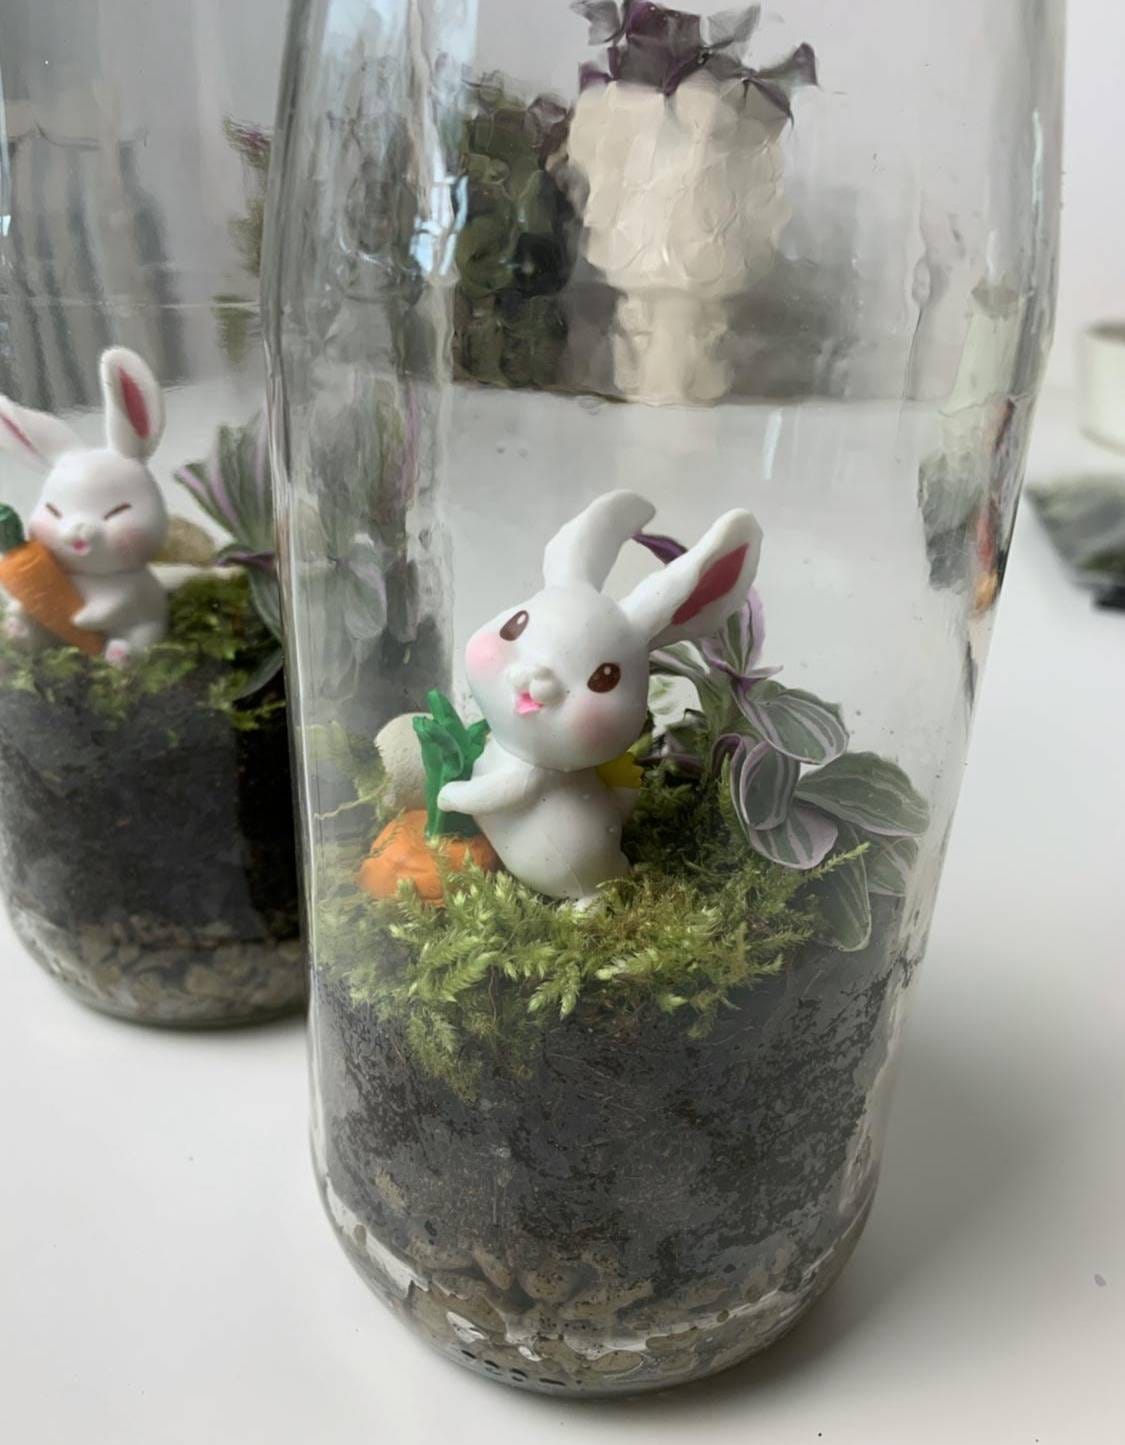
Decoration: I used stones from my garden and two cute rabbit figurines I had at home.
Step-by-Step Guide:
Clean your container and add the drainage layer.
Add charcoal (and the separation layer if you’re using one).
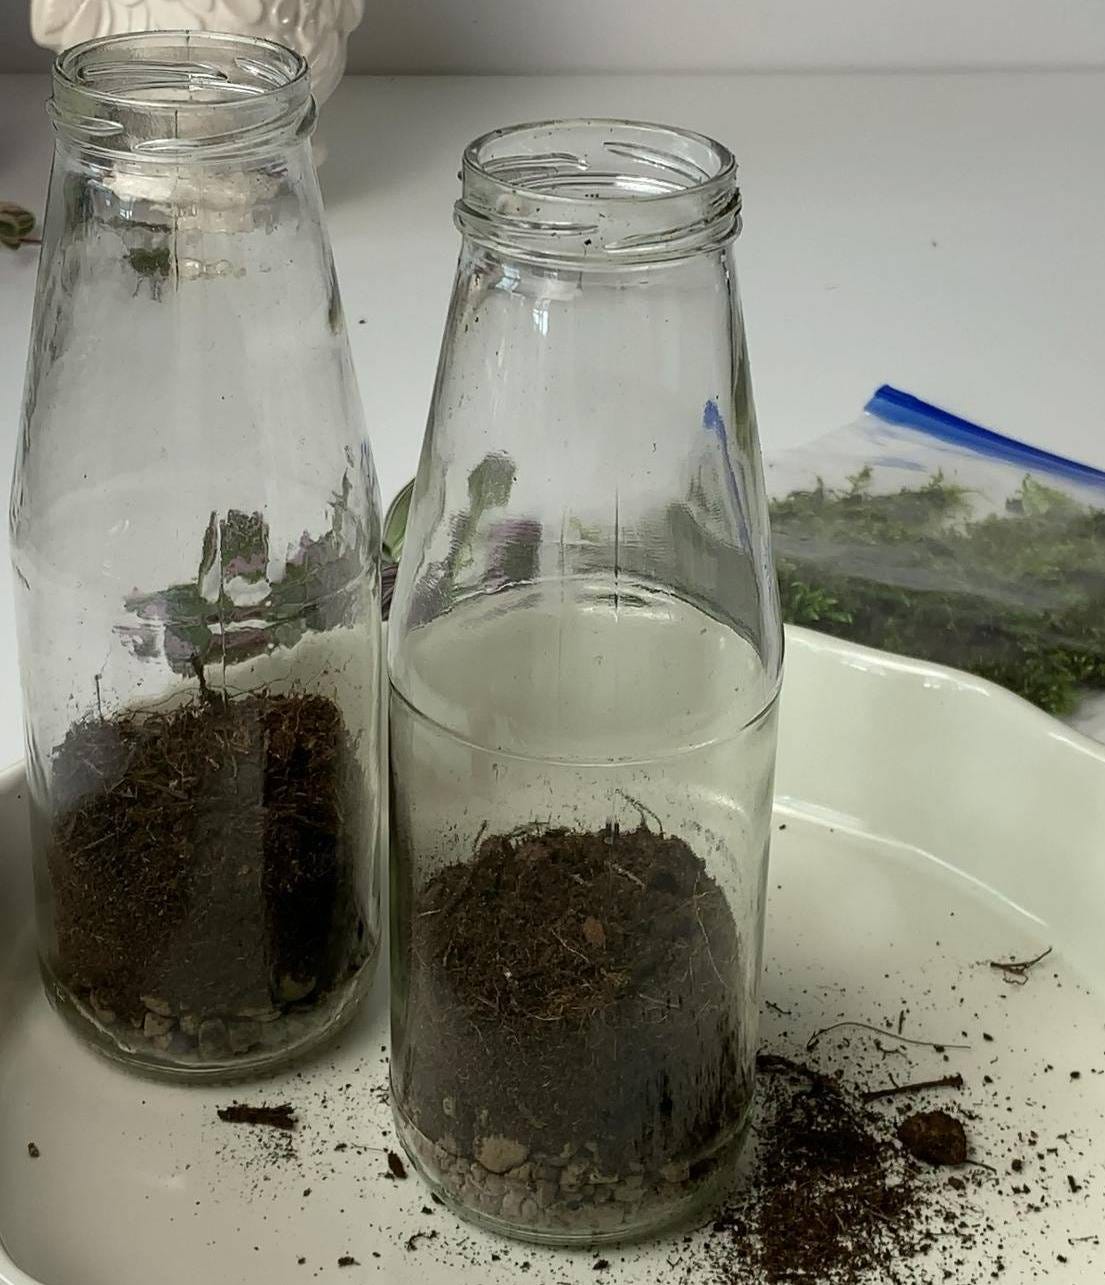
Put in the soil and lightly water it.
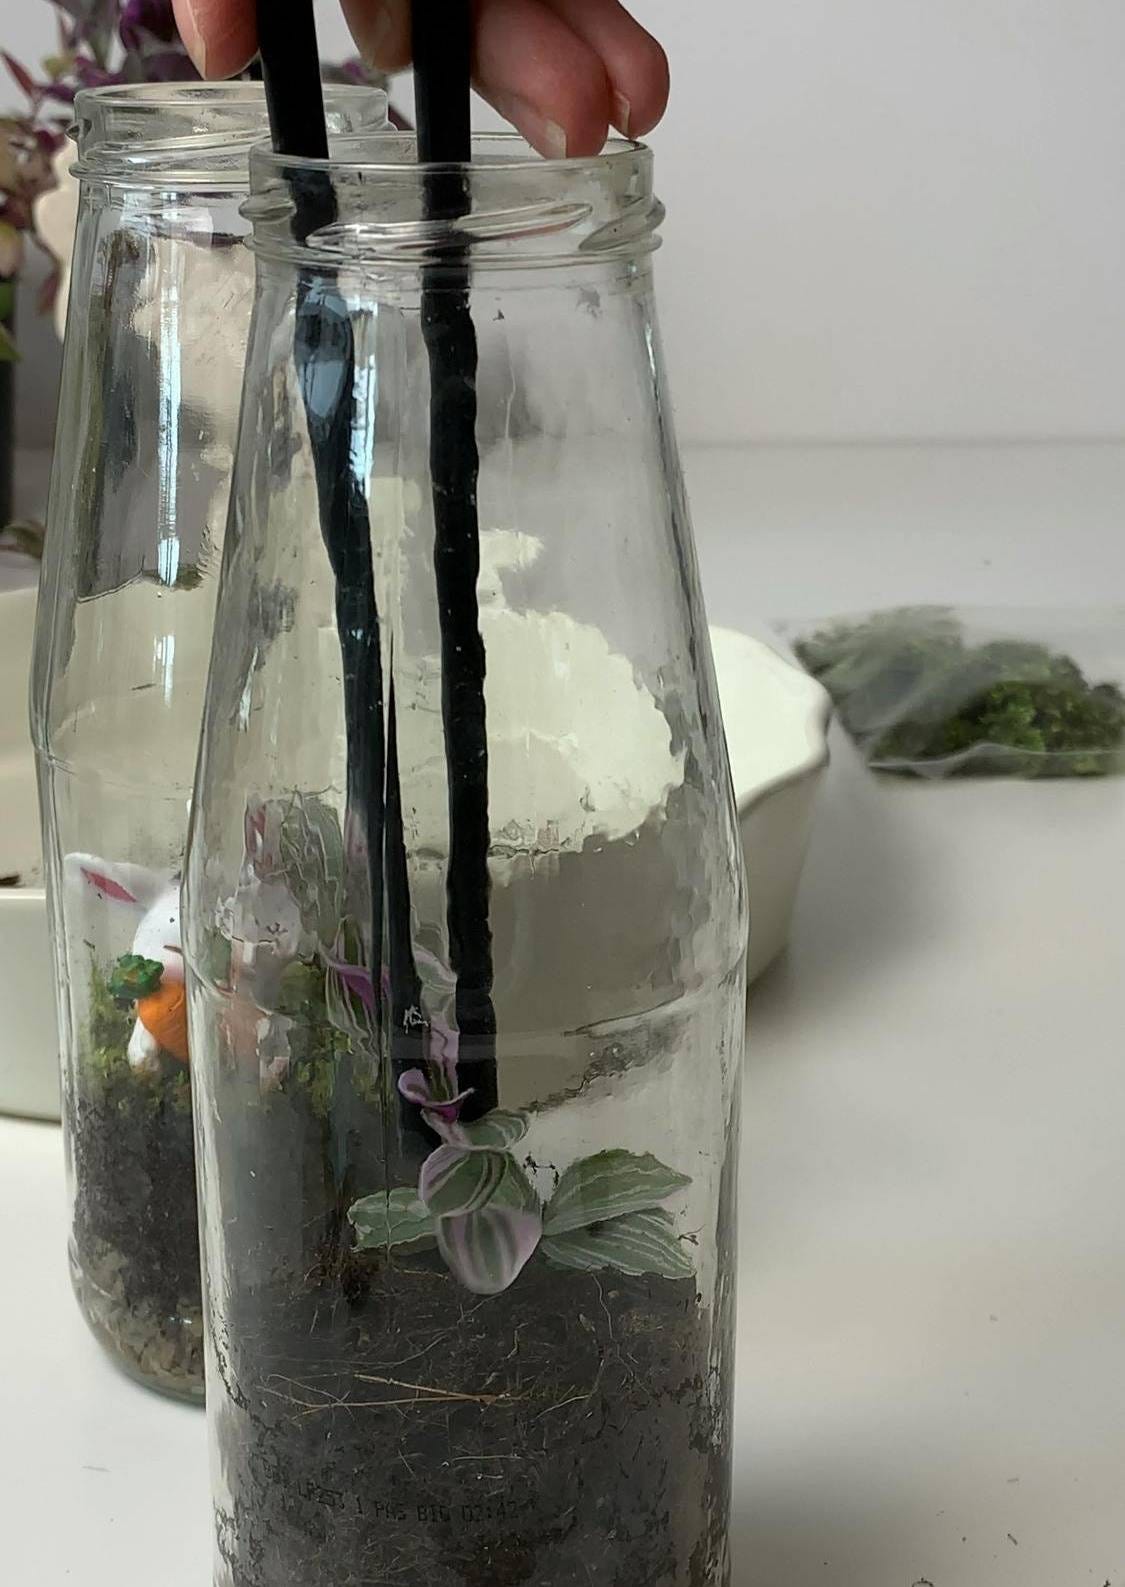
Carefully place your plants and moss. I used chopsticks to get them through the bottle’s neck – I’m not great with chopsticks, but it worked.
Place your decorations.
Close the lid and enjoy your new terrarium!
Maintenance:
I’ve made a similar terrarium before and I love that it requires almost no upkeep. My Cyanotis has been thriving for months without opening! A closed terrarium shouldn’t need watering; just trim the plants if they grow too large and remove any dead leaves and plants to prevent disease. Place it where it gets a lot of light, but avoid strong direct light.

I hope you enjoyed this week’s article! I’m very happy with my terrariums and will definitely make more if I just find suitable containers.
Until next week, happy planting!
Katja